

How to Gain Cross-Domain Access to your Structured Query Language (SQL) Cluster Database
Get Started
There are two types of authentication methods available for Microsoft SQL Cluster Databases:
Windows Authentication – Uses Texas State accounts such as the following:
- NetID
- Super User (SU) Account
- Service Account
SQL Authentication – A special account created that only works in the SQL Cluster Database.
NOTE: Windows Authentication is required unless there is specific documented reasons why it will not work. Also, it must be approved by the Information Security Office.
Cross-Domain Access Instructions
In some cases, you will need to access an SQL cluster database hosted in another environment such as DEV or QUAL.
Method 1: Command Line (Run As)
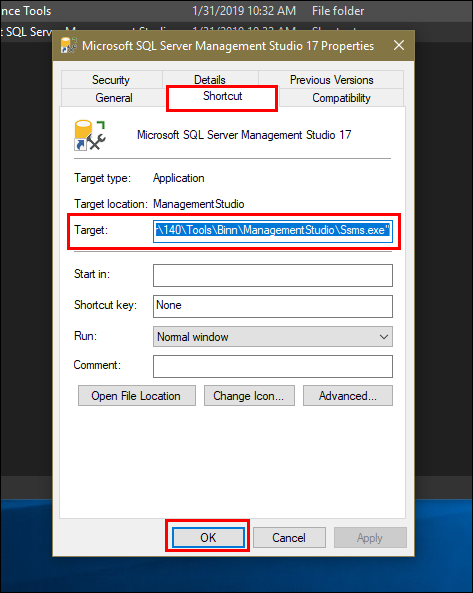
- Find the path to the SQL Server Management Studio installed on your computer. This can be done by right clicking SQL Management Studio. Click on the Shortcut tab and copy the target. Click OK.
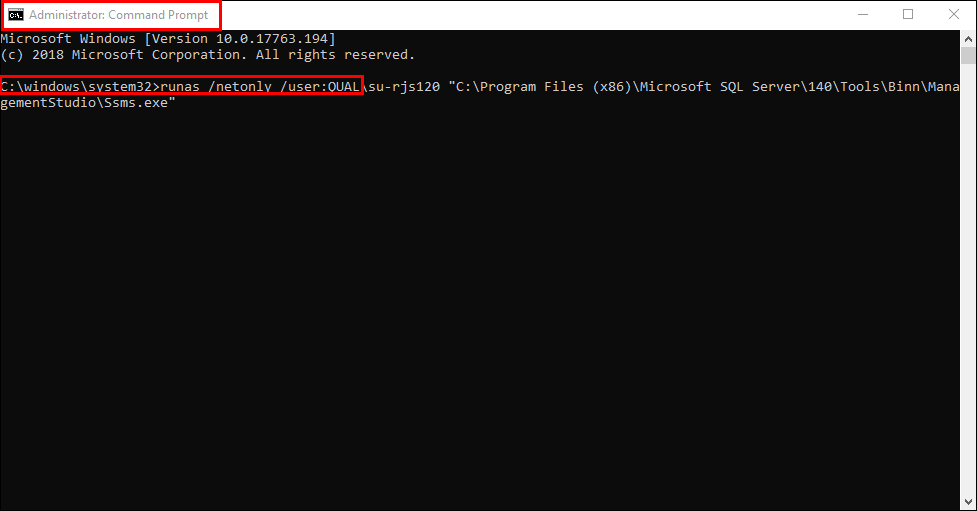
- Open a command line as an administrator.
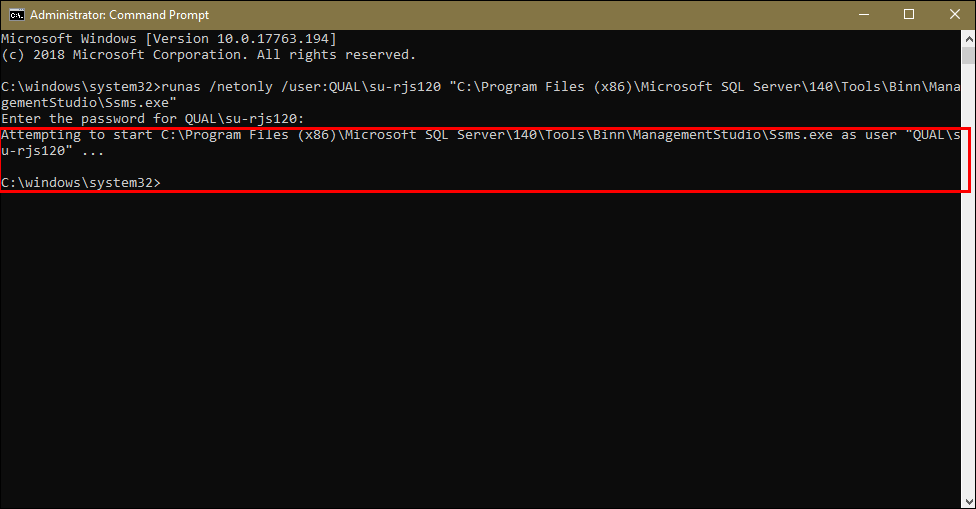
- Type the following command: Runas /netonly /user:domain\netid and replace domain with one of the following: TXSTATE, QUAL, or DEV.
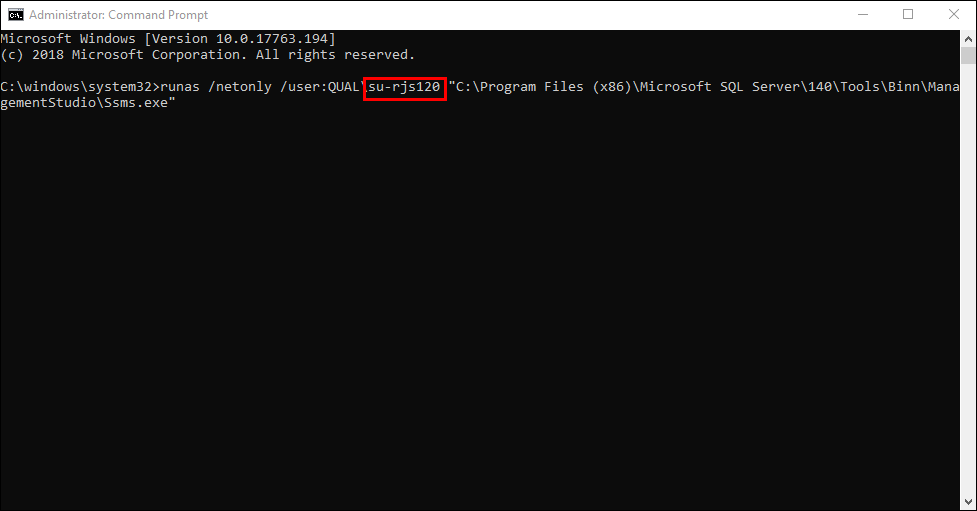
- Replace netid with the NetID or SU account that has access. Hit Enter.
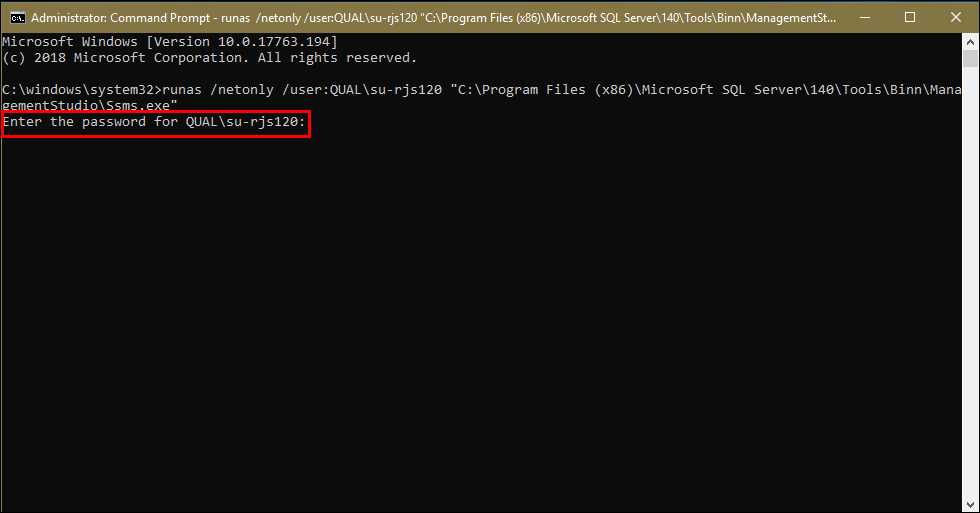
- Enter the password for that account on the next line.
A loading message will appear.
- Click Connect.

Congratulations! You have successfully gained cross-domain access.
NOTE: You will see your currently logged in account on the login screen, not the account you are connecting with.
Method 2: Credential Manager
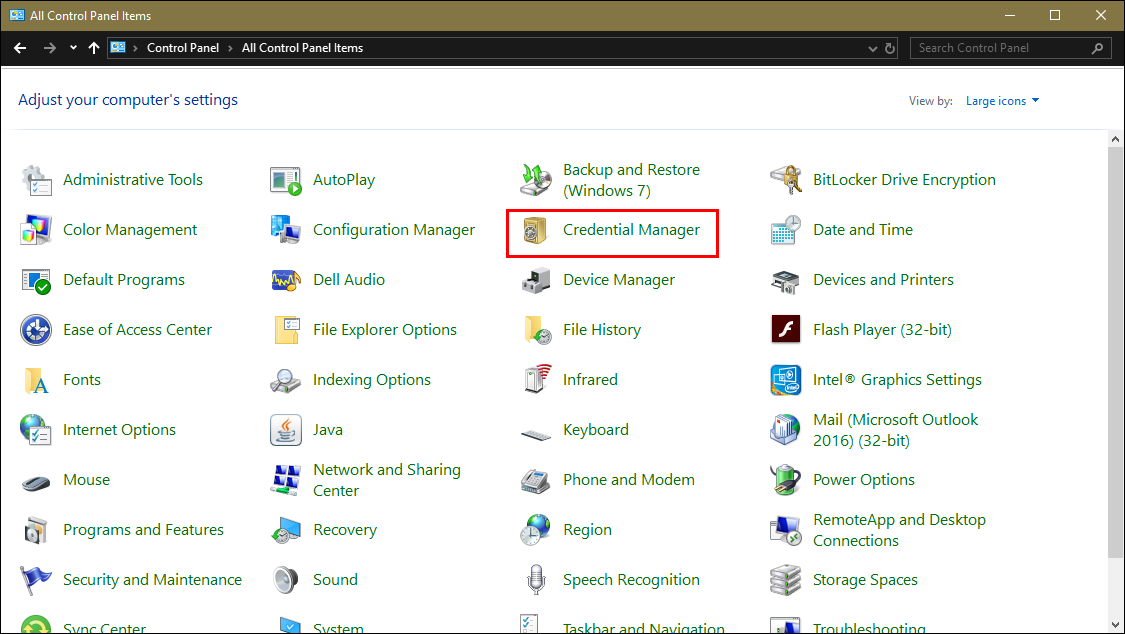
- Open Control Panel, then click Credential Manager.
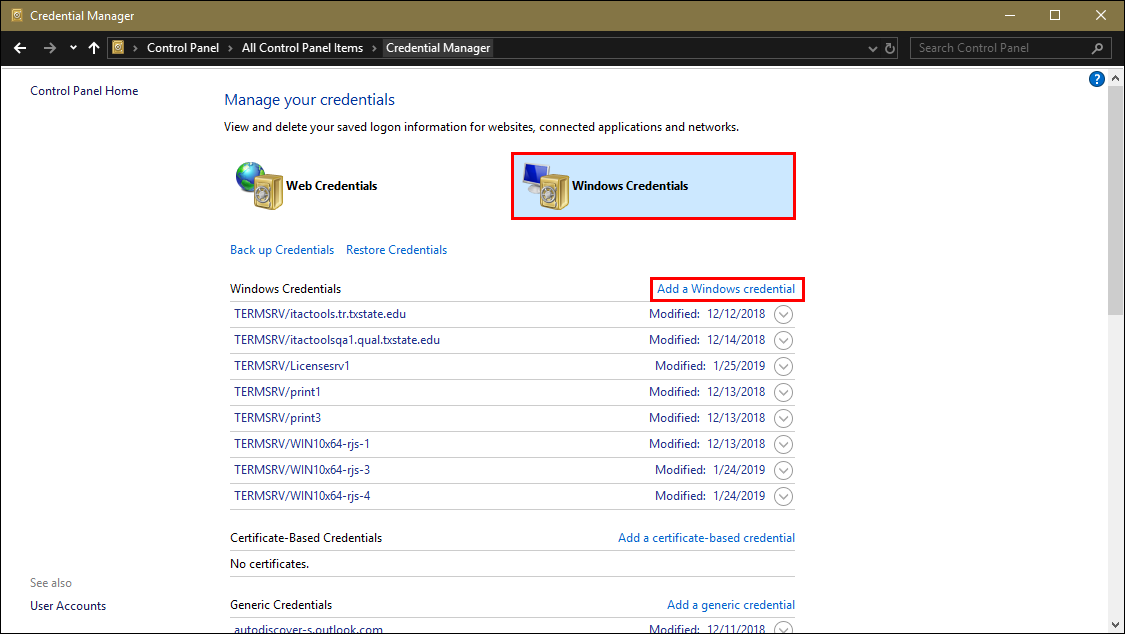
- Click the Windows Credentials icon. Click Add a Windows credential.
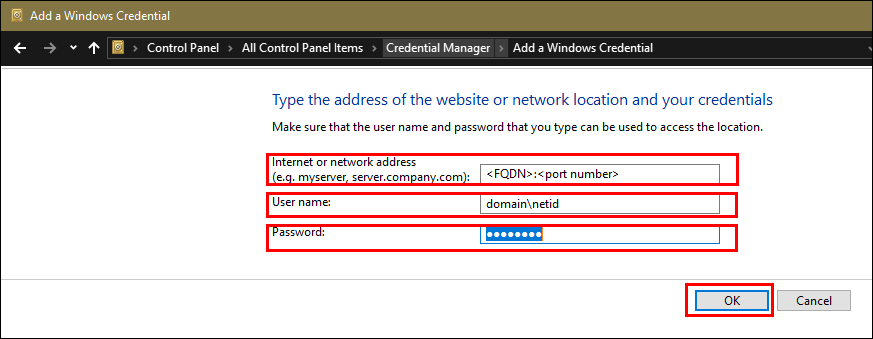
- Enter <FQDN (Fully Qualified Domain Name>:<port number> in the Internet or network address field.
NOTE: There must be a colon between the port (e.g., Sqlserver.itac.txstate.edu:1433).
- Enter domain\netidReplace domain (with one of the following: TXSTATE, QUAL, or DEV) in the User name field. Replace netid with the NetID or SU account that has access
- Enter your account password in the password field
- Click OK.
You have successfully gained cross-domain access.